
Installation and Configuration
Installation
After downloading the plugin from mondialrelay-wp.com, install it through the WordPress dashboard.
1. Access the .zip file installation
From your WordPress dashboard, go to Plugins > Add New Plugin, then click the Upload Plugin button at the top of the page.
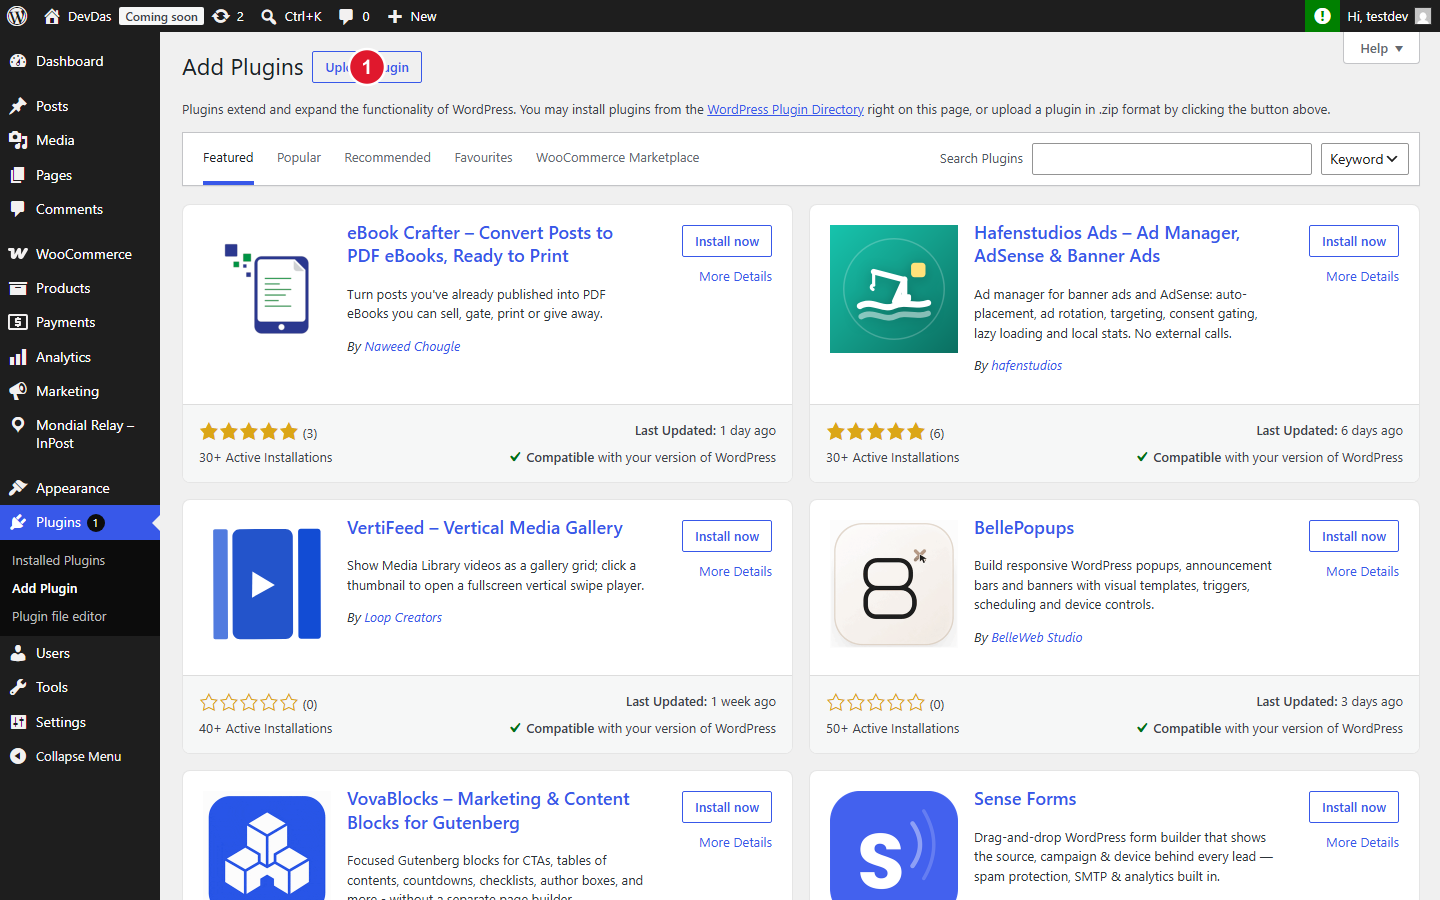
- 1 Upload Plugin: click this button to display the installation form for a
.zipfile.
2. Upload and install the .zip file
The upload form appears. Select the mondialrelay-wordpress.zip file you downloaded, then launch the installation.
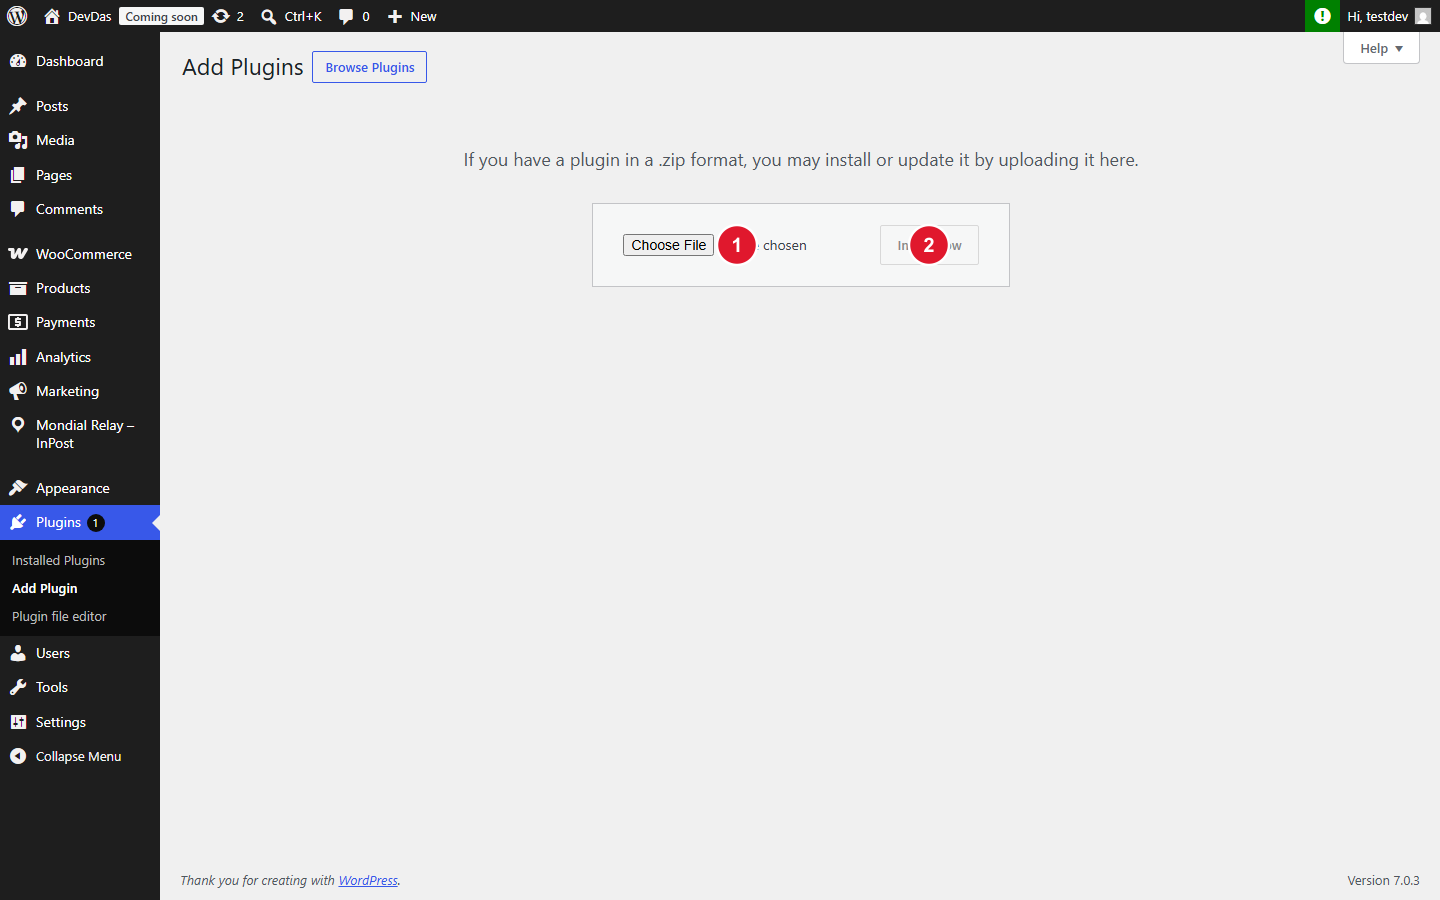
- 1 Choose File: click to select the
mondialrelay-wordpress.zipfile on your computer. - 2 Install Now: click this button to start the installation. WordPress will then display an Activate Plugin link — click it to activate the plugin.
3. Accessing the plugin after activation
After activation, the Mondial Relay – InPost menu appears as a top-level entry in the left column of your WordPress back-office. Click it to access the plugin settings and features.
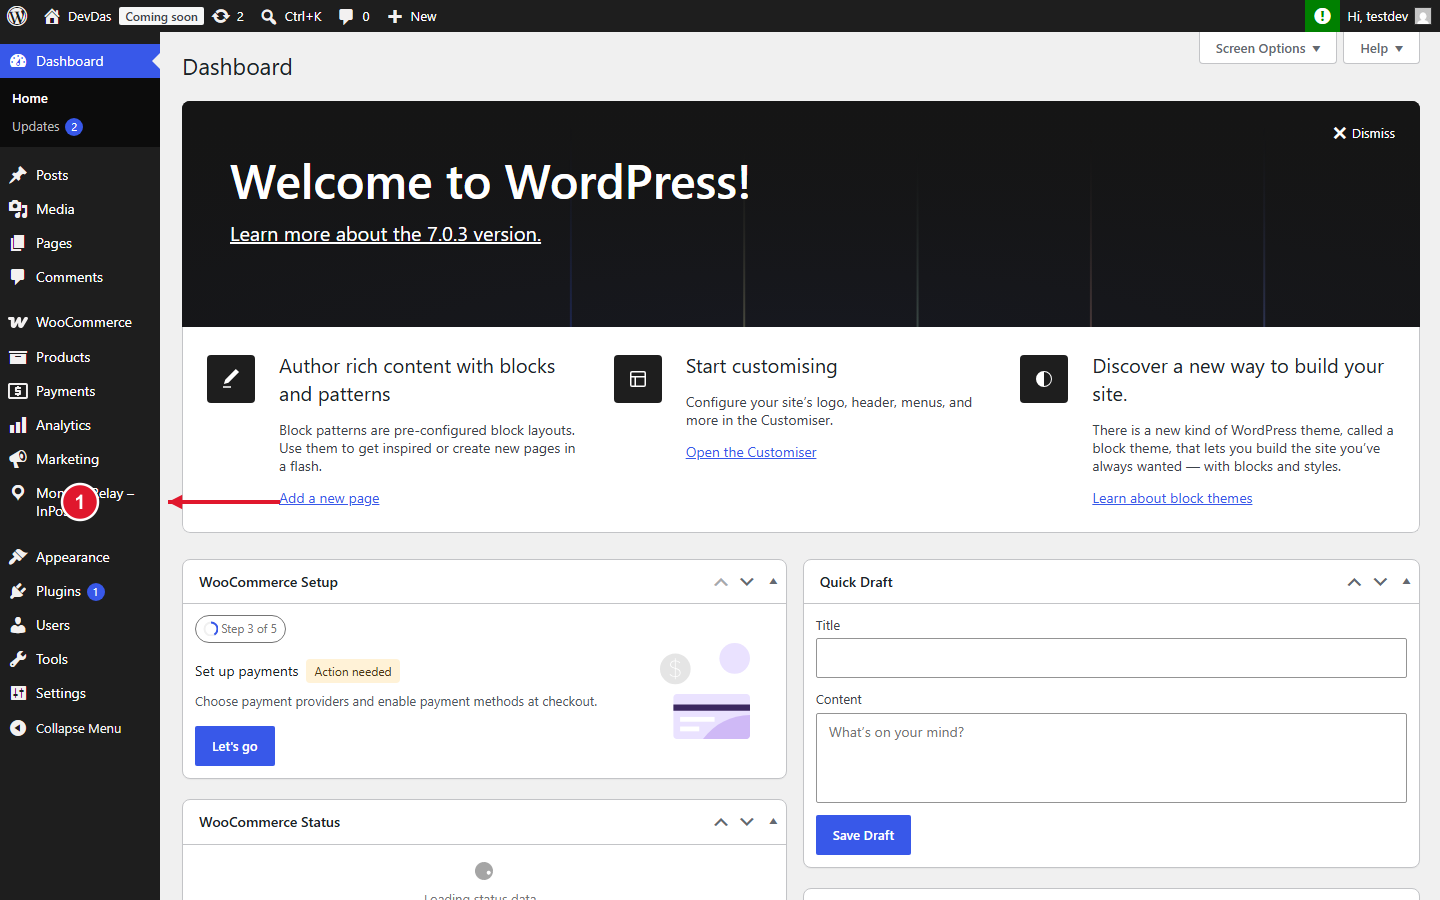
- 1 Mondial Relay – InPost menu: the plugin’s main entry point. It gives access to the configuration (Account, Configuration, Emails tabs, etc.), the shipments list, bulk creation and returns.